The complete guide to using fill lighting in photography
What is fill lighting and how can you use it to set your scene?
Developing your talents in photography is all about growth and learning. Just when you think you know all you need about creating gorgeous shots, there will be something new to discover. Using one light can help you to get a beautiful picture, but the next part of your journey is sure to be fill lighting.
Fill lighting is an important part of getting the perfect photograph. But what is a fill light? And how do you use it in your own work?
What is fill lighting?
A fill light is a style of lighting which is often used in theatre and film as well as in photography. Often used as part of a three point lighting set up, fill lighting is utilised in order to light up the shadowed parts of your setting - this creates less contrast where you do not want it. It makes the image appear more natural, as it would if you were simply looking at your subject in real life rather than through the lens of a camera.
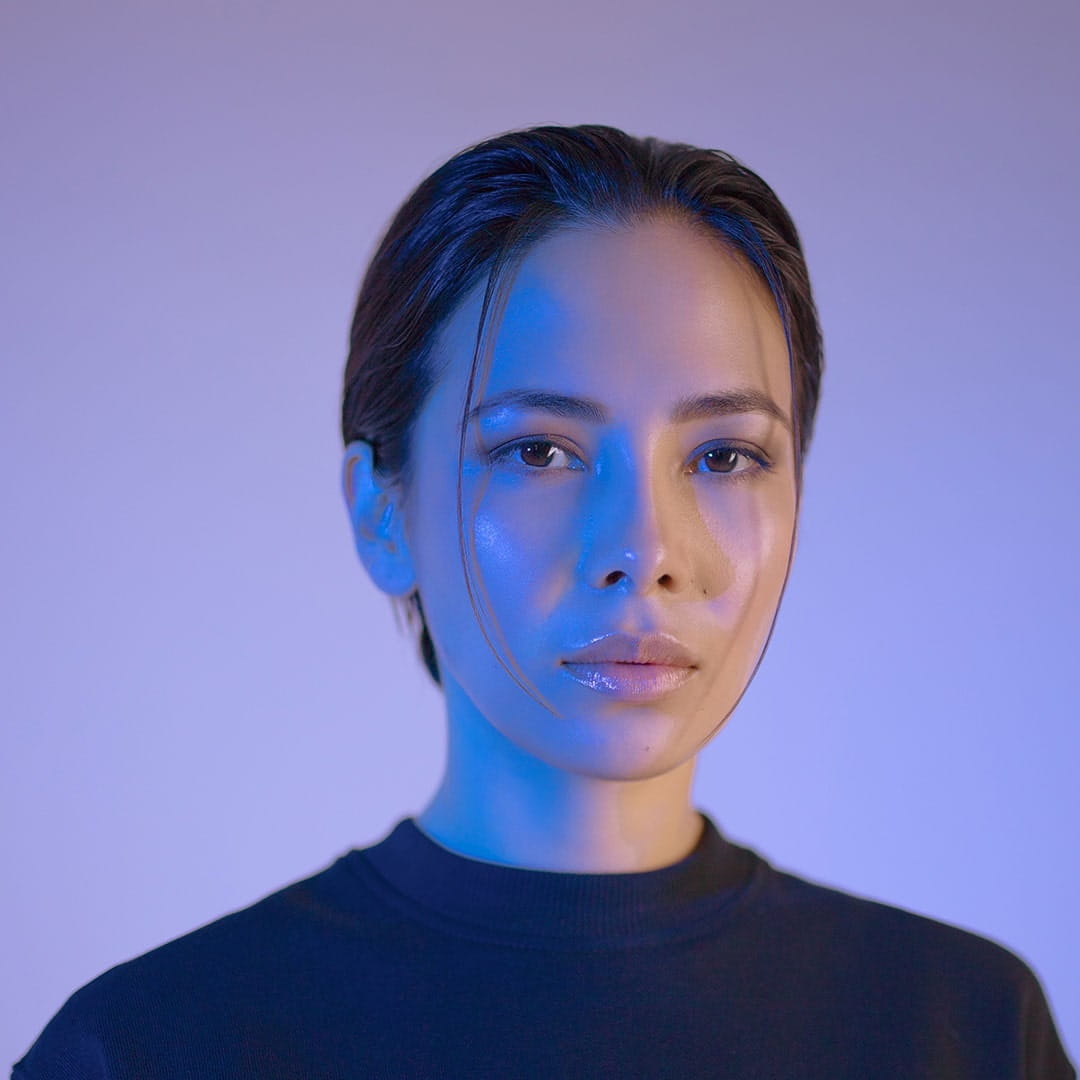
Use fill lighting to your advantage to illuminate the areas of your image that you want to focus on.
What are the different types of fill lighting?
Fill lighting comes in two main categories. The first is the most simple, being a reflector which provides fill light by reflecting light - many photographers will already have a reflector in their arsenal, but there are other creative ways in which you can replicate reflective fill lighting, including:
- Walls and ceilings: In some situations, you can use walls and ceilings to reflect light.
- Foam boards: White foam boards are great for reflecting light in outdoor scenes.
- Negative fill: You can block excess light entering your scene by using black or opaque materials.
- Fabric: Bright coloured clothes or fabric can be used to create a very subtle lighting effect.
The second kind of fill light is secondary lighting - where you can use extra lights to illuminate the space. This is more highly controllable than a reflector, as you can change the amount of light being provided as you wish. It allows for far more precision in your images.
How to use fill lighting in photography
To avoid unwanted silhouettes, you’ll need to get to grips with using fill lighting correctly. By using either flash lighting, continuous light, strobe lighting or a reflector, you can easily create yourself some appropriate fill lighting.
If you’re taking portrait photographs, then you should use fill lighting techniques to fill dark areas of your subject with light. Here’s how to easily use fill lighting to your advantage:
What are the benefits of ring fill lights?
Ring fill lights are becoming increasingly popular for both professional and amateur photographers and videographers. Whether you are recording videos for an online platform or creating portraits, a ring fill light is the ideal choice.
A ring light has all the functionality of a fill light which is used to illuminate and reduce shadowing on the face. It is widely used to increase the brightness and smoothness of the skin on your face and makes eyes appear shinier and more engaged.
- Place your chosen method of fill lighting opposite your main light source. This could be natural lighting (sunlight) or an artificial light source (lightbulbs or lamps)
- If your main light source is behind your subject, then place the fill light in front of your subject.
- If your main light source is to the side of your subject, then place your fill light to the side of your subject also.
This makes photographs seem more beautifully lit and high quality overall, ideal for those close-up self-portraits. A ring fill light emphasises small details in photography and allows for perfectly balanced lighting. They are very affordable, so even amateur photographers can easily add one to their kit and up their game.
When using a ring fill light, you also have the added benefit of being able to adjust the colour temperature by replacing the bulbs. This may only apply to slightly more high-end ring lights, but it makes for an easy and still affordable way to change up your photography. You can even easily apply coloured gels to a basic ring light to create the effect you are looking for.
As an introduction to fill lighting, a ring light is a great place to begin.

-
Share This


